|
A guide to self reliant living |
||||||||||||||||||||||||||||||||||
|
6. Kerosene heaters and cookers
12.
Electrical; generators
Miles Stair's SURVIVAL
Miles Stair's
SURVIVAL |
Tools - Restoration and Rebuilding
`
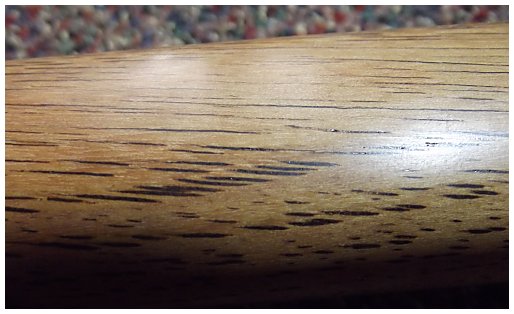
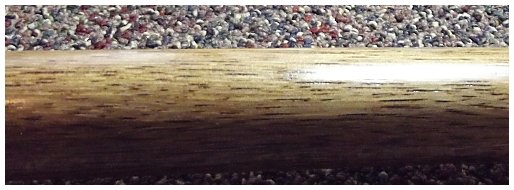
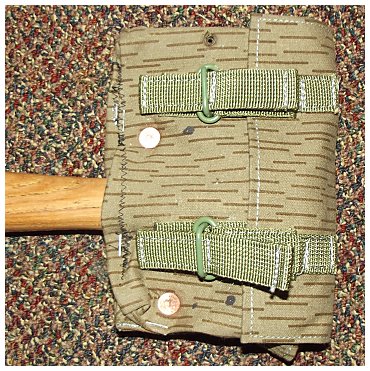
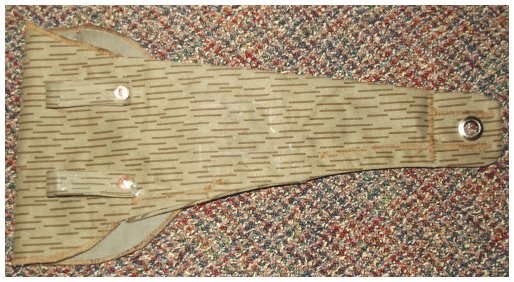
Wood handles on almost every tool can be sanded down and refinished. The idea is to get a very smooth, non-slip finish that will not cause blisters with prolonged use. The original varnish finish should be scraped off before sanding. Once smooth enough, I use Old English Scratch Cover to stain the wood. After the stain dries, a thin coating of Tru-Oil is applied. In about 4 hours the Tru-Oil is dry and can be easily removed with 0000 steel wool. Rubbing with 0000 steel fur hardens the surface of the wood and the Tru-Oil fills the pores of the wood. It only takes a couple of minutes to apply a coat of Tru-Oil with a cotton ball applicator, and very little time to scrub it off with 0000 steel wool. Good thing, too, as it requires at least a dozen coats to get the smooth finishes shown above. This is, of course, the method used to refinish rifle stocks. HATCHET A good framing hatchet can be extremely useful, particularly around a wilderness camp as they usually have much better steel then a cheap camp hatchet and nice broad cutting edge. The left photo above shows my refinished framing hatchet. But to keep the hatchet sharp and in perfect condition, a good sheath is required. I used an East German grenade pouch and some rivets to make the sheath shown above. The grenade pouch was less than $3.00 from Sportsmansguide.com. SMALL ADZE
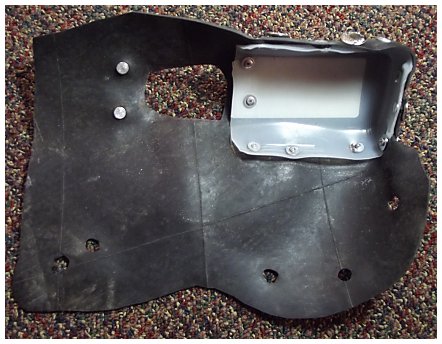
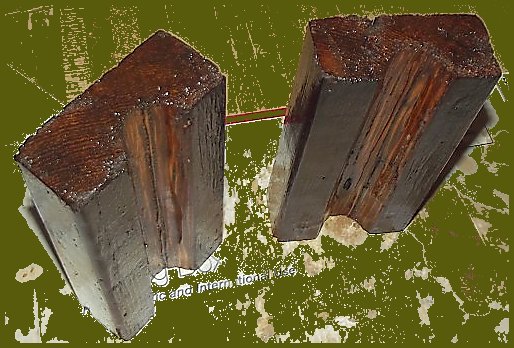
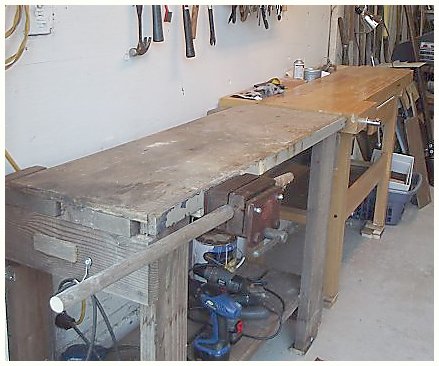
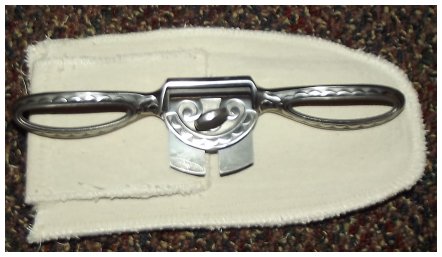
A small adze is extremely useful for shelter building. The sideways edge keeps your hands away from the surface compared to an axe. They work extremely well for smoothing log surfaces in confined areas such as the inside of an expedient shelter (dugout) and for logs which make up the roof of the shelter. If a shelter is to be rain- and wind-proof, it must be sealed. The easiest way to accomplish that is to use an adze to chop off high spots, smooth down branch roots, and make notches so the logs are interlocked. The roof is then covered with a few inches of dirt and the soil smoothed out. A very fine film of plastic sheet can be carefully laid out over the soil and then be covered with a few more inches of soil and sod. That thin film of plastic sheet is the wind and rain protection for the shelter, and being sandwiched between layers of sod has automatic UV protection so it will last for years. Sharp projections having been eliminated by the adze, the soil protects the delicate plastic film while holding it in place. The logs on the sides of a shelter should be chinked with moss (or whatever is available), for which the back of the adze has been designed. Shelters such as a dugout should have a plastic film placed on the outside of the logs before backfilling with dirt. If smoothed with the adze there should be few sharp projections to cut the plastic film, but there will still be some holes. Nevertheless it is far better moisture protection than nothing at all. Google "Ziemlanka" for more images of traditional dugouts. REFINISHING TOOL HANDLES Refinishing tool handles is made considerably easier if handle clamp is made from a couple of short lengths of 2 x 4's. The 2 x 4's can be clamped together and drilled down the center with a 1'' bit. Or each half can have the groove cut with a router. The large groove is then lined with a piece of bicycle inner tube that is glued into place. The blocks can then hold a handle in a wood vise, as shown above right. The handles can be scraped to remove the old varnish, sanded and prepared for staining and a finish coat without having to try to hold the handle manually or clamping it in a metal vise that will scar and damage the surface. MORE EXAMPLES OF HOME-MADE SHEATHES TO KEEP TOOLS SHARP Above left, inserts cut from a gallon milk jug. These are then sandwiched between two layers of canvas and each half sewn. The halves are combined (center photo) by sewing, the trimmed to final shape and the edges thoroughly sewn with a Zig-Zag stitch. The end result (right photo above) is a nice belt sheath for a spokeshave!
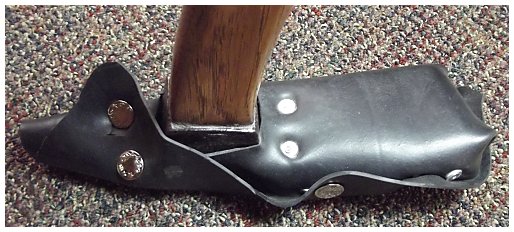
"REPURPOSING'' THINGS TO MAKE SHEATHES A very inexpensive East German Day Pack gave its life to make the holster shown above for a Daisy Avanti Powerline 747 pellet pistol.
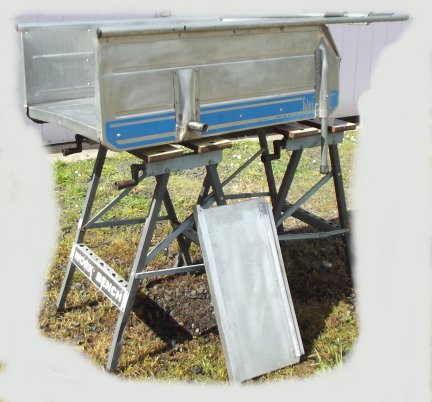
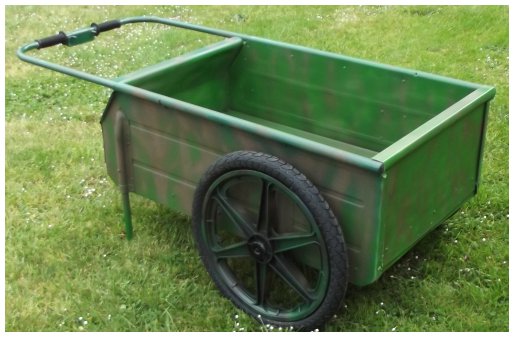
A CART TO HAUL ALL YOUR TOOLS AND EQUIPMENT The photo above left is a Fold-It garden cart in nice, shiny original aluminum. Before repainting I pop riveted the axle stub brackets to reinforce them to provide a safety margin for hauling heavy loads. The photo above right shows the cart repainted in home-brew camo. The tires were 20 x 1.75 and very feeble. The new tires are 20 x 1.95 BMX tires with run-flat solid tubes. These are not the strongest cart around but they are lightweight and easy to use. They will carry an amazing amount of tools and supplies far easier than carrying them on your back! LEG VISES FOR WORKING METAL Most all leg vises were made prior to WW I. Mine, shown at right, dates to the 1890's. All were hand forged. After a century of use they are often pretty beat up. I took mine apart and dressed all surfaces, then primed and painted all but the jaw faces as the jaws have to hold hot hot metal from the forge. It should now last for at least another century. Leg vises are a luxury and not every needs to own one, but for heavy work with metal that requires pounding and shaping they are really nice to use.
RELATED PAGES > CARPENTRY TOOLS FOR REPAIR AND CONSTRUCTION Tools - Restoration and Rebuilding
------------------
|
|
||||||||||||||||||||||||||||||||


